How Do I Film My Mountaineering Expeditions?
The cameras, drones, microphones, batteries, storage and power equipment I actually carry to document expeditions—from Base Camp to the summit of an 8,000m mountain.

CHAPTER 1
How Do I Film My Mountaineering Expeditions?
One of the questions I get asked regularly is what cameras I use to film my expeditions.
The short answer is: probably too many.
On an 8,000m expedition I'm already carrying climbing equipment, clothing, food and everything else I need to get up the mountain. Then I add cameras, microphones, drones, batteries, selfie sticks and power banks.
I'm probably carrying close to 5kg more than the climber next to me purely because I'm documenting the expedition.
But filming these adventures isn't something that started with YouTube.
I've been documenting my travels and expeditions for years. Some of the early videos that eventually became Outdoor Pirate, Manaslu, Ama Dablam and my Manaslu Base Camp tour, were originally filmed just for myself.
I showed them to a friend in Australia who basically said, you need to put these on YouTube.
That's really how Outdoor Pirate started.
Today the setup is obviously a little more serious, but my philosophy hasn't changed much.
The climb comes first. Documenting it comes second.
I'm not trying to make a polished National Geographic documentary. I want the videos to feel raw enough that you're actually coming along on the expedition with me.
Here's the equipment I use to do it.
How I Film My Expeditions
My Main Camera - DJI Osmo Action 6
My DJI Osmo Action 6 is my main camera and the one you'll probably see me talking into most often.
This is my vlogging camera.
I'll normally have it on an extendable DJI carbon-fibre selfie stick with a quick-release mount so I can pull it out, start recording and put it away again quickly.
That's important in the mountains.
I don't want filming to become a ten-minute process every time something happens. If the weather suddenly changes, somebody says something interesting or I just want to explain how I'm feeling, I need to be able to get the camera out immediately.
I really like the front-facing screen because I can see that I'm actually in frame while talking. The stabilization is excellent, I like the colour straight out of the camera, and it integrates nicely with the DJI microphone system.
It's also proven itself in some pretty extreme conditions.
I've used the Action cameras in temperatures approaching -50°C, and they've handled the cold surprisingly well.
If I could only take one conventional action camera on an expedition right now, this would be it.
AFFILIATE LINK: DJI OSMO ACTION 6 →
My Backup — DJI Osmo Action 5
I normally carry a DJI Osmo Action 5 as my backup.
On bigger expeditions I actually have two Action 5s available. Usually one comes up the mountain with me and another remains at Base Camp.
Redundancy matters.
If I drop my Action 6, smash it, lose it or the cold kills it, I don't want that to mean the rest of the expedition suddenly isn't documented.
Another advantage is that my Action 5 and Action 6 share batteries, which makes the whole system much simpler.
I don't need separate charging systems and different piles of batteries for every camera.
AFFILIATE LINK: DJI OSMO ACTION 5 →
My B-Roll Camera — Insta360 X5
If the Action 6 is my talking camera, the Insta360 X5 is probably my most useful B-roll camera.
I love this thing.
The biggest advantage of a 360 camera in the mountains is that I don't really have to frame the shot while I'm filming it.
I can worry about staying upright, walking, climbing or looking at the scenery and decide where the camera should have been pointing later.
One recording can also become multiple shots.
I can film myself walking along a trail, then in post use the same recording for a shot looking forward at me, another looking backwards at the mountains and another looking sideways at the scenery.
That's incredibly useful when you're trying to tell the story of an expedition.
My 50-Second Insta360 Trick
I've developed a little routine with the X5.
It's normally attached to the left shoulder strap of my backpack using an Insta360 backpack strap mount.
When I find somewhere worth filming, I'll pull it off and spend less than a minute capturing B-roll.
I'll hold it directly in front of me and count to ten.
Then out to one side. Ten seconds.
Down near my feet. Ten seconds.
Behind me. Ten seconds.
Low behind me. Ten seconds.
Then I'll get a really high angle.
Because it's 360 footage, those few positions can eventually become a dozen or more usable shots once we reframe everything during the edit.
That's one of the easiest ways I've found to capture enough B-roll without constantly stopping the expedition to film.
AFFILIATE LINK: INSTA360 BACKPACK STRAP MOUNT →
The 3-Metre Insta360 Pole
I also carry a 3m Insta360 pole.
This creates some of my favourite shots.
With the pole extended and the selfie stick digitally removed from the 360 footage, you can get shots that almost look as though they were filmed by a drone.
That's particularly useful somewhere I can't, or don't want to, launch an actual drone.
It's obviously another thing I have to carry, but the shots are good enough that it has earned a permanent place in my filming kit.
AFFILIATE LINK: INSTA360 3M SELFIE STICK →
DJI Osmo Pocket 3
The DJI Osmo Pocket 3 serves a completely different purpose.
I don't normally take it particularly high on the mountain because it's more fragile than my action cameras.
Instead, it's great around Base Camp.
If I'm filming something more controlled, doing a piece to camera, filming around camp or want a smoother, more polished shot, I'll pull out the Pocket 3.
It's basically my Base Camp camera.
AFFILIATE LINK: DJI OSMO POCKET 3 →
My iPhone 17 Pro
Yes, I still use my phone.
The iPhone 17 Pro isn't my primary expedition camera, but sometimes it's simply the fastest camera available.
It's also useful when I need actual zoom.
Action cameras are fantastic for wide-angle footage, but if there's an animal in the distance or something happening far away on the mountain, I'll pull out the iPhone.
And I still take plenty of normal photographs with it.
I'm not carrying a big DSLR or mirrorless stills camera around the Himalayas. Most of my expedition photography now comes from the iPhone, the Insta360 or still frames pulled from video.
AFFILIATE LINK: IPHONE 17 PRO →
Audio Matters More Than People Think
You can get away with imperfect video.
Terrible audio is much harder to watch.
I've used several generations of DJI microphones and currently have both the DJI Mic 2 and DJI Mic 3.
Interestingly, I actually prefer the Mic 2 for a lot of mountaineering.
The newer clip-on microphones are great, but I don't particularly like having a big microphone visibly clipped to my chest.
More importantly, technical climbing destroys them.
I've lost probably three, four or five microphones over the years.
You clip one onto yourself, start climbing, knock it against something and suddenly you're watching an expensive little microphone bouncing down the mountain.
I've done exactly that in South America.
So I've gone back to using the DJI Mic 2 with a lavalier microphone.
The transmitter can stay safely tucked inside a pocket while the lav runs underneath my clothing.
It's less visible, harder to lose and still gives me good audio.
AFFILIATE LINK: LAVALIER MICROPHONE →
I also carry the furry windshields, usually called dead cats, for the microphones.
Wind is obviously a constant problem in the mountains.
If there's still excessive wind noise afterward, we can often clean a surprising amount of it up in post-production using Adobe's audio enhancement tools.
Filming Technical Climbing
This is where documenting an expedition gets interesting.
Sometimes I need both hands.
I'm jumaring a fixed rope, rappelling, climbing rock or ice, using an axe or dealing with equipment.
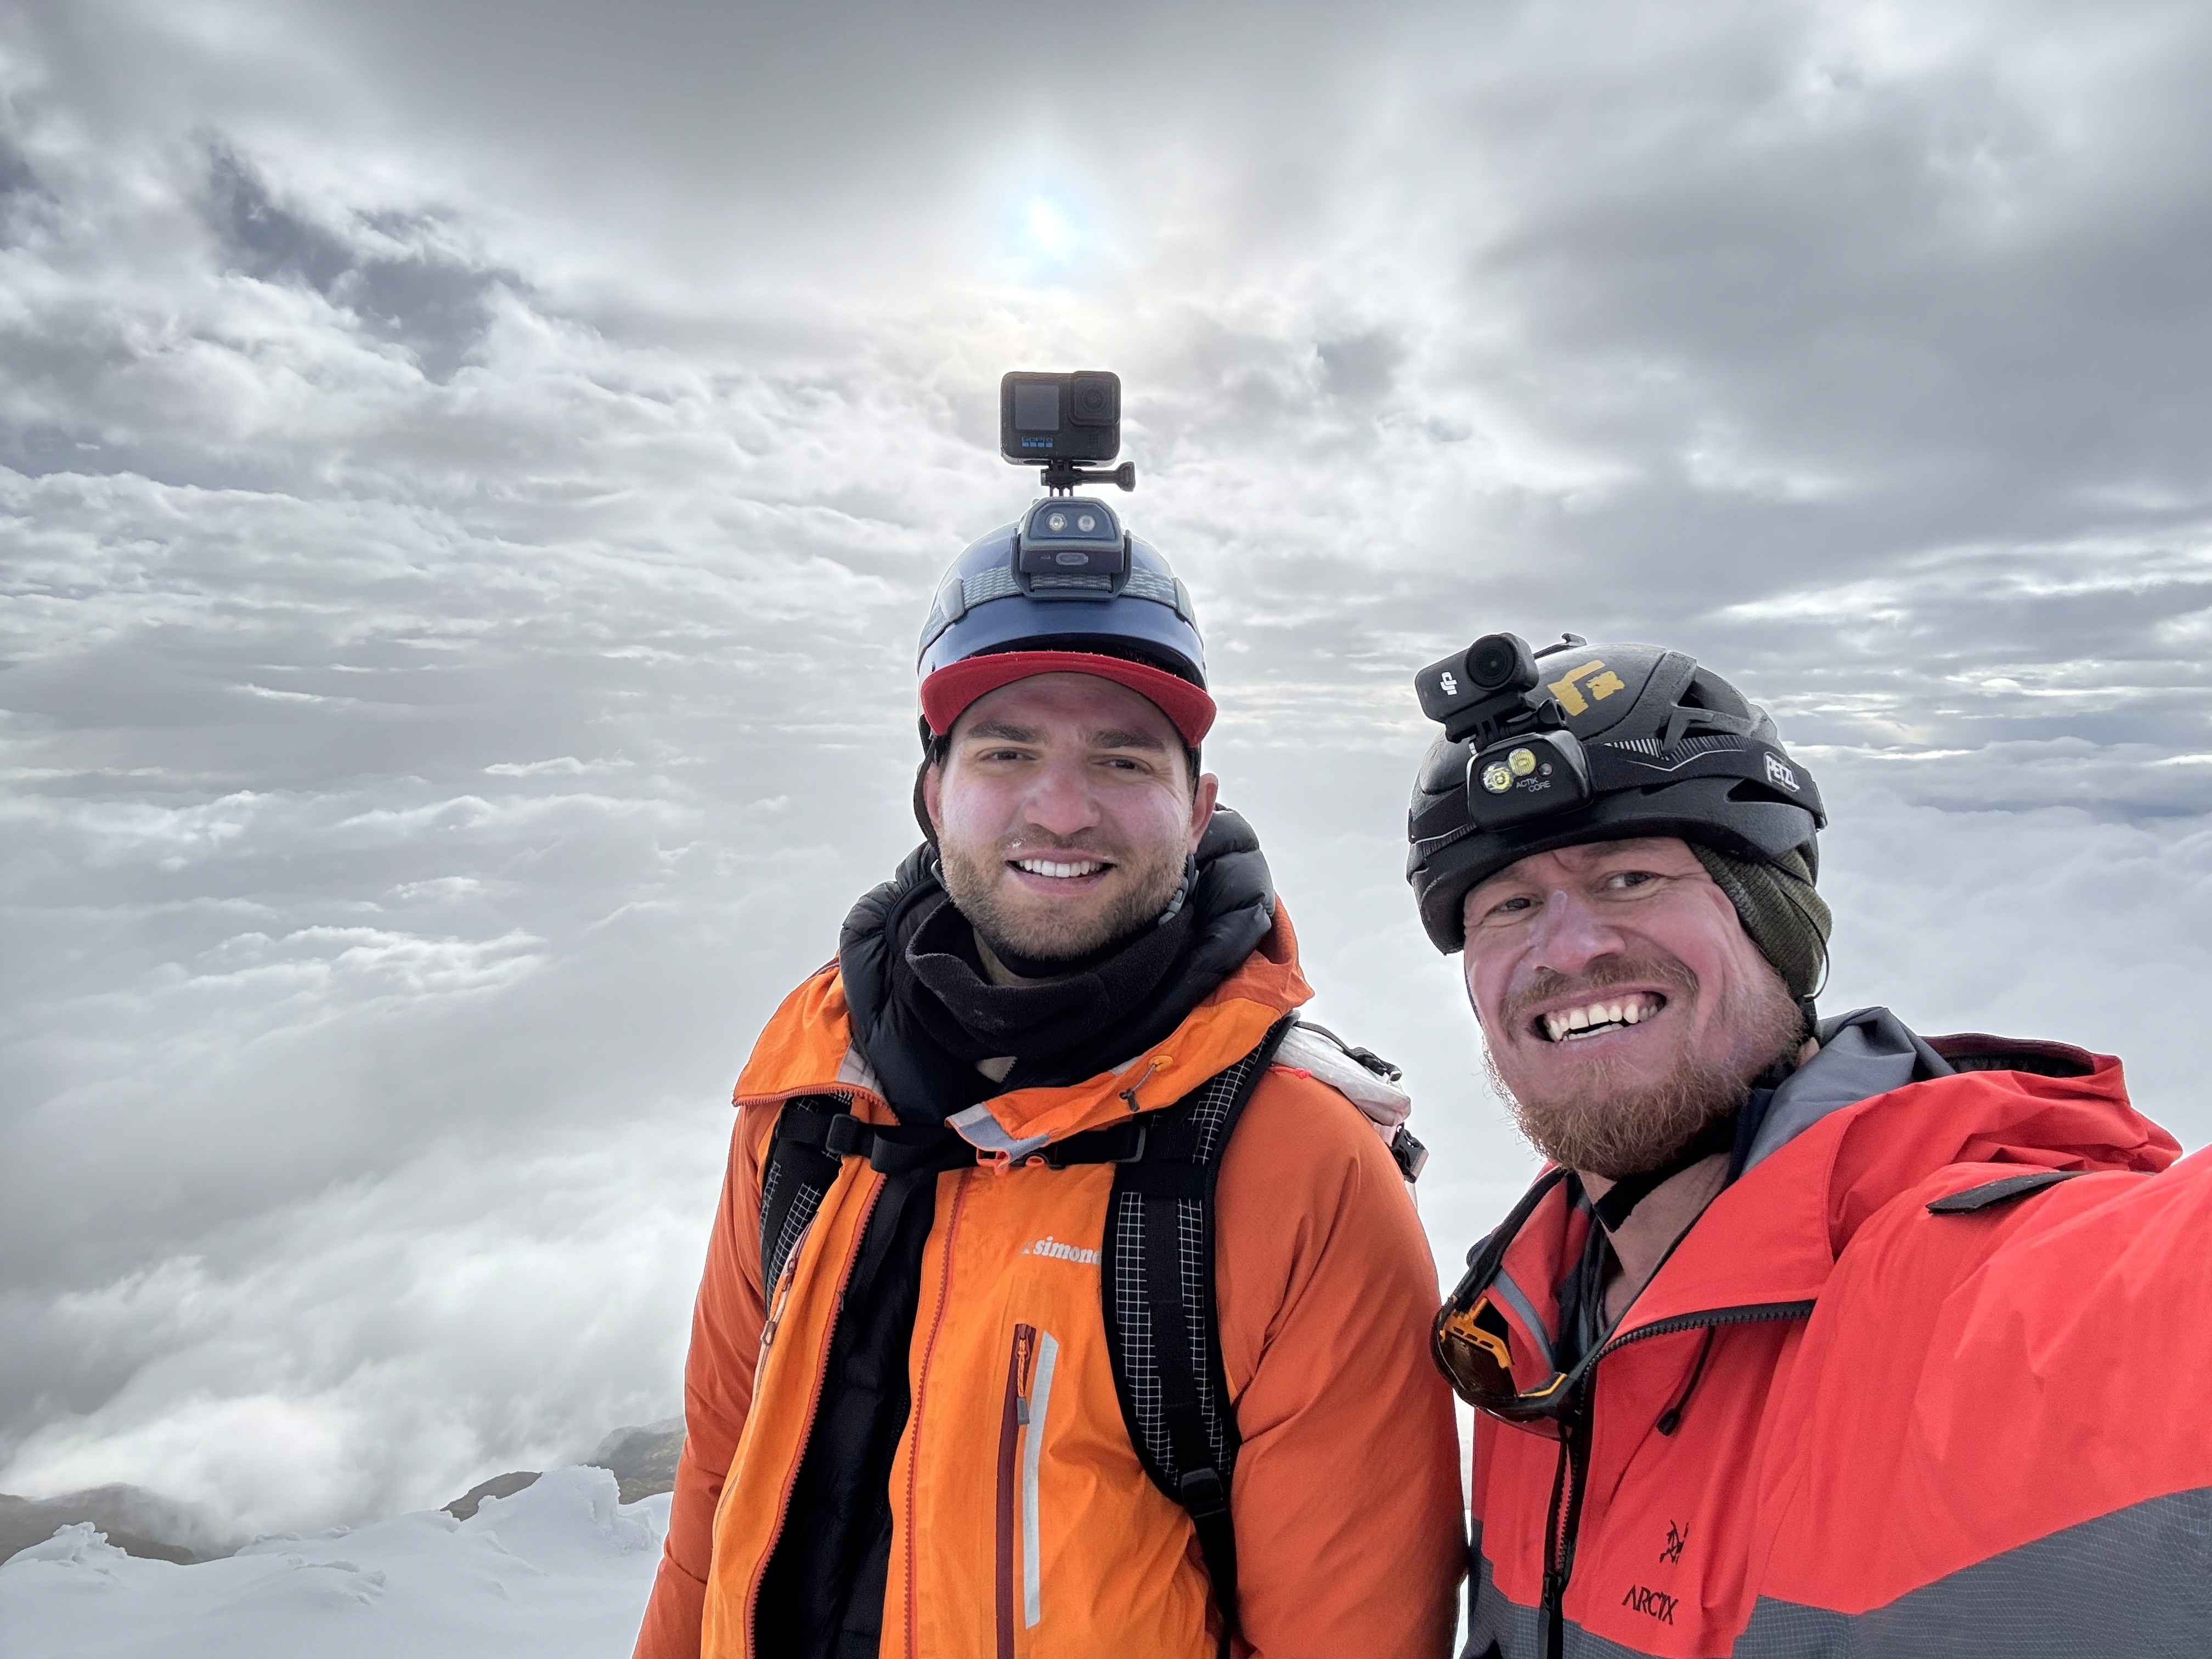
I do use a small DJI Osmo Nano wearable camera on my helmet for POV footage, but I don't want an entire video to look like helmet-cam footage.
Whenever it's safe and practical, I'll still pull out the Action camera on the selfie stick.
I've become pretty good at doing things like rappelling one-handed while getting a shot with the other.
Obviously, the filming never gets priority over climbing safely.
I also regularly hand cameras to Xenia, a Sherpa or whoever I'm climbing with and ask them to get shots of me.
That produces mixed results.
If someone isn't used to filming, you tend to get shaky footage, strange framing or a camera pointing somewhere completely different from where you thought it was pointing.
That's another reason the Insta360 X5 is so useful.
I can basically hand someone the camera and tell them to hold it up.
As long as it's recording, there's a pretty good chance I can find the shot I wanted afterward.
AFFILIATE LINK: DJI OSMO NANO →


CHAPTER 2
The Camera Gear I Carry
Two Drones, Two Very Different Jobs
I currently use two drones:
And they solve different problems.
DJI Mini 5 Pro
I've used versions of DJI's Mini drones for years.
The obvious advantage is weight.
When you're carrying everything yourself at altitude, weight matters enormously.
The downside I've experienced is performance at extreme altitude and in strong wind.
I've had some very close calls.
On Annapurna, my Mini 5 dropped out of the sky. Recovering it involved setting an anchor and rappelling down onto a serac to retrieve it.
I had another incident on Acotango in Bolivia where the propellers iced up and the drone came down. Fortunately, I was able to downclimb and recover that one too.
So I'm cautious with it high on the mountain.
But for trekking, Base Camp and situations where weight is critical, the Mini is still incredibly useful.
AFFILIATE LINK: DJI MINI 5 PRO →
DJI Air 3S
More recently I've added the DJI Air 3S.
The footage is spectacular.
It's considerably more capable in wind, feels much stronger in the air and I'm extremely happy with what I've been getting from it.
But there's a price.
Weight.
Once I add the Air 3S, the battery in the aircraft and two spare batteries, I'm carrying roughly 3kg of drone equipment.
That's a substantial amount of additional weight on a mountain.
So I choose the drone based on the expedition.
If weight is everything, the Mini makes sense.
If getting the best possible aerial footage matters more and I can justify carrying the additional weight, I'll take the Air 3S.
How I Manage Batteries in Extreme Cold
Cold destroys battery performance.
So I treat batteries almost like another piece of survival equipment.
At night, batteries generally come into my sleeping bag.
During a summit push, cameras and batteries go into internal pockets inside my down suit.
The Action cameras handle cold remarkably well.
The Insta360 X5 is noticeably more sensitive.
On a summit night, I'll often keep the X5 inside my suit, pull it out, capture the shots I need and put it straight back inside.
Action Camera Batteries
For the Action 5 and Action 6, I'll generally have around five batteries total between the cameras and spares.
An Action 6 battery will normally give me roughly a day to a day and a half based on the way I shoot.
I'll often change it in the morning even if the old battery still has 20–30% remaining.
I'd rather start a climbing day knowing I have a full battery.
AFFILIATE LINK: DJI ACTION BATTERIES →
Insta360 Batteries
I normally have two batteries for the X5.
Because I use the X5 differently from the Action 6, I can often get a couple of days of my normal shooting from a battery.
AFFILIATE LINK: INSTA360 X5 BATTERY →
Drone Batteries
I'll generally carry three drone batteries.
At altitude I don't waste time flying around hoping something interesting happens.
Before launching, I already know the shots I want.
Launch.
Get the shot.
Get another angle.
Bring the drone back.
Often I'm only flying for five or ten minutes.
At extreme altitude the aircraft is already working harder, so there's no reason for me to burn through a battery unnecessarily.
Power Banks
Higher on the mountain I normally carry two lightweight 10,000mAh power banks, generally from Nitecore and FLEXTAIL.
That gives me another roughly 20,000mAh of portable power without carrying one enormous battery.
For a typical four-to-five-day climb, that combined with my spare camera batteries is generally enough.
AFFILIATE LINK: NITECORE 10,000MAH POWER BANK →
AFFILIATE LINK: FLEXTAIL 10,000MAH POWER BANK →
I've also recently added a lightweight FlexSolar folding solar panel for situations where I need to generate power higher on the mountain.
Whether the solar panel actually goes all the way to the summit depends on the expedition and weight.
At Base Camp, my power system is much larger.
I use an Anker multi-port charger whenever the generator is running.
My basic strategy is:
Generator on → charge everything.
Cameras, batteries and power banks all get filled.
Then when the generator shuts down, the power banks become my reserve.
I've written separately about the larger power system I use to keep Starlink and everything else running at expedition Base Camps.
READ: HOW I POWER STARLINK ON EXPEDITIONS →
The Mounts That Actually Come With Me
I've accumulated plenty of camera accessories over the years.
The ones that actually keep making it into the expedition bags are:
Insta360 backpack strap mount — keeps the X5 immediately accessible.
DJI extendable carbon-fibre selfie stick — my normal Action 6 vlogging setup.
Insta360 3m selfie stick — creates those fake-drone 360 shots.
Small micro tripod — works with whichever camera needs it.
JOBY GorillaPod Action tripod — useful when there isn't a nice flat surface anywhere, which describes most mountains.
AFFILIATE LINK: INSTA360 BACKPACK MOUNT →
AFFILIATE LINK: DJI CARBON-FIBRE SELFIE STICK →
AFFILIATE LINK: INSTA360 3M SELFIE STICK →
AFFILIATE LINK: JOBY GORILLAPOD →
Quick-release mounts are also important.
The less time I spend screwing cameras onto mounts while wearing gloves, the better.
Storage — SanDisk Extreme Pro
Video consumes an incredible amount of storage.
I generally use 1TB SanDisk Extreme Pro memory cards.
A large card gives me hours of recording capacity, although I try to switch cards periodically rather than putting an entire expedition onto one card.
I've had corrupted cards before.
Losing one day's footage is bad.
Losing an entire expedition would be considerably worse.
AFFILIATE LINK: SANDISK EXTREME PRO 1TB →
Back at Base Camp, footage gets transferred onto SanDisk portable SSDs.
I use both 2TB and 4TB drives.
I won't format the original camera cards until I'm completely satisfied that the footage exists on the SSD and has been uploaded to the cloud.
Storage is one area where redundancy is worth carrying.
AFFILIATE LINK: SANDISK 4TB PORTABLE SSD →
My Summit Camera Kit
By the time I'm leaving Camp 3 or Camp 4 for the summit of an 8,000m mountain, everything gets stripped down.
Every gram matters.
My summit camera kit will normally be something like:
DJI Action 6
DJI Action 5 backup
Insta360 X5
One drone, depending on the mountain
Spare battery for each
Minimum necessary mounts/accessories
Most of the other spare batteries, microphones and equipment stay in the tent.
And everything that needs to remain warm goes inside my summit suit.
It's still a lot of equipment.
But those are the moments I'm there to document.
I Don't Baby My Cameras
Expedition camera equipment has a hard life.
I've crashed drones.
I've had drones fall out of the sky.
I've corrupted cards.
I've cracked lenses.
I've lost microphones down mountains.
Equipment gets covered in snow, frozen, bashed against rocks and generally abused.
That's why I particularly like cameras where vulnerable components such as lens protectors can be replaced.
I carry spare lens protectors for my Action cameras and X5.
If I scratch one, I replace it.
Then I keep filming.
AFFILIATE LINK: INSTA360 X5 REPLACEMENT LENS →
I don't want a camera that I'm frightened to use.


CHAPTER 3
From the Mountain to YouTube
Filming the expedition is only half the job.
Then I have to get all of that footage off a mountain.
A typical Outdoor Pirate episode can involve around 150GB of raw footage and potentially thousands of individual clips.
The finished YouTube episode is normally somewhere around 30–45 minutes.
My workflow starts at Base Camp.
Footage comes off the cameras and memory cards onto my MacBook Pro and SanDisk SSDs.
Then comes Starlink.
Uploading 150GB From Base Camp
I use Starlink Mini at Base Camp, and one of the biggest advantages is being able to send footage directly to my editor while I'm still on an expedition.
We use Frame.io.
I upload the full-resolution original footage and Shaun can then create/work with proxies during the edit.
Uploading 150GB from a Himalayan Base Camp isn't exactly instant.
I'll normally break everything into manageable chunks.
Action 6 — Day 1.
Action 6 — Day 2.
Drone — Day 1.
Insta360 — Day 1.
And so on.
I'll select perhaps 50 clips, start the upload and walk away for three or four hours.
Then I'll come back and start the next batch.
The advantage is that Base Camp involves a lot of waiting anyway.
Weather.
Rest days.
Acclimatization.
Waiting for route fixing.
Waiting for summit windows.
So I can use that downtime to get footage off the mountain.
AFFILIATE LINK: STARLINK MINI →
And if you're interested in the ridiculous collection of batteries, solar panels and cables I use to keep it running:
HOW I POWER STARLINK ON EXPEDITIONS →
How an Outdoor Pirate Episode Gets Made
We're currently operating pretty close to real time.
I'm climbing and filming, and sometimes only a few days later you're watching it.
Shaun will normally send me the first cut on Wednesday.
I'll watch it, put all my notes directly into Frame.io and send it back.
Because of the time difference, he'll often work on those changes while I'm asleep.
Thursday morning I wake up to Version 2.
I'll watch it again, add more notes and send it back.
By Thursday night we're normally around Version 3 and getting very close.
At that point I'm often reviewing at 2x speed because I've already watched a 30–45 minute video several times.
Usually we're down to tiny changes, titles, captions or little adjustments.
Friday gets the final pass.
Then the episode goes live Friday morning, US East Coast time.
And we start again.
You Don't Need All This Gear
After listing all of that equipment, here's probably the most important thing in this article:
You don't need it.
If you're starting to document your own adventures, don't go out and buy ten cameras.
Start with one.
I'd probably choose either a good action camera such as the DJI Action 5/6 with a decent microphone, or an Insta360 X5.
I've actually tested this.
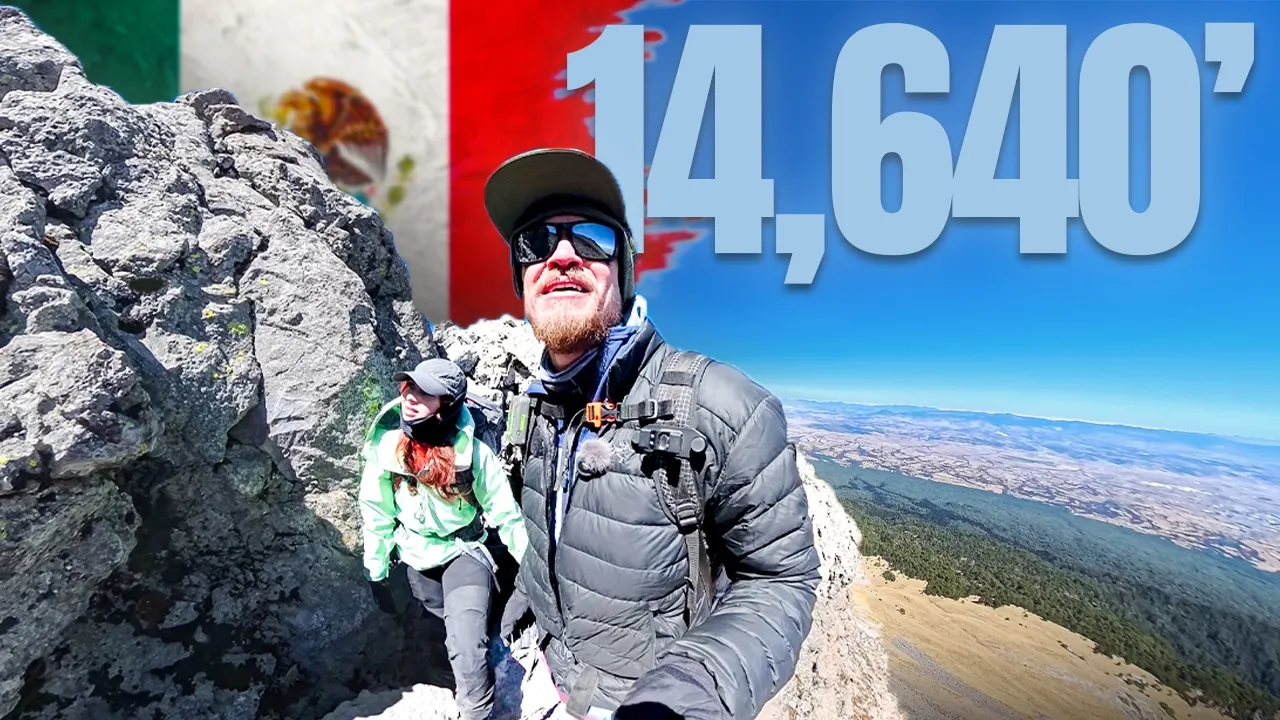
When I climbed La Malinche in Mexico, I deliberately filmed the entire video using essentially the Insta360 and its microphone because I wanted to see whether I could produce a complete episode with one camera.
It came out great.
A modern phone can already produce fantastic video too.
The important thing is to start filming.
Learn what shots you like.
Learn how long to hold a shot.
Learn to tell a story.
Learn to capture decent audio.
Then add equipment when you discover a problem that another camera actually solves.
Don't buy five cameras because you think five cameras will make your videos five times better.
They won't.
Why I Still Carry It All
Does documenting everything become a pain in the ass?
Absolutely.
Sometimes it feels like a job.
I'm carrying perhaps five kilograms more than the person climbing beside me. I'm thinking about batteries, storage, microphones, camera angles, uploads and whether Shaun has enough footage to build Friday's episode.
But it's a pretty fun job.
And even if Outdoor Pirate had never existed, I think I'd still be filming.
That's actually how all of this began.
I was documenting expeditions because I wanted a record of them.
There's another side of it that I didn't really anticipate either.
Especially when I'm travelling alone, filming gives me someone to talk to, even if technically I'm just talking to myself.
And now Outdoor Pirate has grown into something much bigger.
People are following the expeditions. Brands and sponsors are becoming involved. Every now and then someone recognizes me walking around Kathmandu and says:
“Hey man, I loved your Everest video.”
That's still a really cool feeling.
The cameras add weight.
They add work.
They occasionally roll down mountains.
But they've also allowed me to take people who might never stand at 8,000 meters along on these expeditions with me.
And that's worth carrying a few extra kilograms.
🏔️🏴☠️
My Expedition Filming Kit
Equipment | How I Use It |
|---|---|
Main vlogging camera | |
Backup action camera | |
Main B-roll / 360 camera | |
Base Camp / controlled filming | |
Primary wireless audio system | |
Hidden/secure microphone setup | |
Lightweight expedition drone | |
Higher-performance drone | |
iPhone 17 Pro | Photos, zoom and quick filming |
Quick access to X5 | |
Fake-drone/extended 360 shots | |
Action-camera vlogging | |
Static/action shots | |
Camera storage | |
Expedition backups | |
Lightweight mountain power | |
Lightweight mountain power | |
Charging higher on mountain | |
MacBook Pro | Footage management/review |
Uploading footage from Base Camp |


WATCH THE FILM
CONTINUE THE STORY
READ THE Everest STORY →
RELATED GEAR GUIDE
